Добрый день, друзья! Сегодня я Таня (Taniko) хочу поделиться с вами страничкой с миксд-медийными элементами и процессом ее создания. В качестве фона был выбран потрясающий лист бумаги Night Sky из новой коллекции Plans for today. Эти акварельные разводы покорили меня с первого взгляда!
Hello friends! It's Tanya (Taniko) here today. And I want to share with you my layout with mixed-media elements and the tutorial about its creating. As the background I chose stunning paper Night Sky from the new collection Plans for today. I fell in love with these watercolor stains at the first sight!
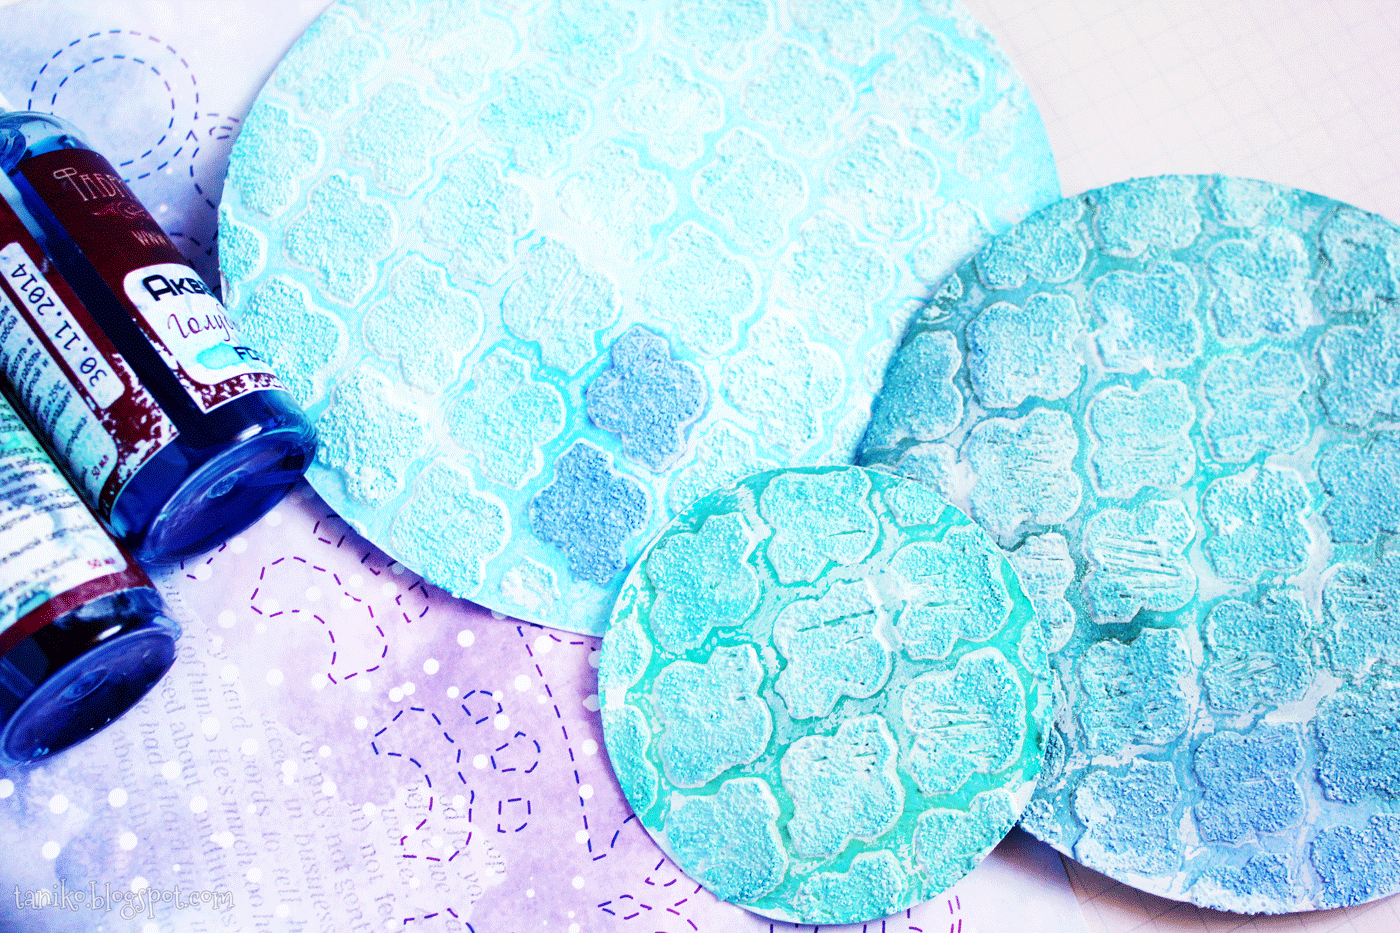
Ну что, начнем! Из картона или плотной акварельной бумаги вырезаем несколько кругов разного диаметра. Через трафарет наносим на них белую текстурную пасту с песком.
Let's start! Сut out some circles with different diameters from cardboard or thick watercolor paper. Put white textured paste with sand on them using the stencil.
С помощью разнообразных спреев окрашиваем круги.
Use different mists to add some colour on to the circles.
В дополнением к кругам с самодельным фоном вырезаем разнообразные круги из веллума, скрап-бумаги и оверлея.
In addition to the circles with a mixed-media background cut out more different circles from vellum, scrapbook paper and overlay.
В отдельной небольшой емкости смешиваем грунт с акриловыми красками и с помощью кисточки делаем красочными брызги-кляксы.
Mix gesso with acrylic paint in the jar cap. Make some splashes using a brush.
Выкладываем композицию из кругов на фоновом листе бумаги Lemon Owl.
Make composition from circles on the Lemon Owl background paper.
Переходим к декорированию. Для украшения используем остатки грунта с акриловой краской, которые полностью засохли в крышке и легко отделились от ее поверхности.
Let's begin to decorate it. Use dried paste of gesso and acrylic paint that was left in the jar cap. Now it separates from the surface easily.
Ставим стеклянные капельки дропсы с блестками.
Add some drops.
Смешиваем текстурную пасту с эффектом стекла с бисером и декоративным песком. Полученную смесь можно наносить либо через трафарет, либо просто распределять по поверхности с помощью кисточки.
Mix Texture Glass with beads and decorative sand. The mixture can be applied either through a stencil, or simply spread over the surface with a brush.
Также украшаем страничку с помощью чипбордов, которые можно окрасить акриловой краской. А еще добавляем высечки, пайeтки, ягодки, цветочки и стразы.
Also decorate our layout with the chipboards that can be painted with acrylic paint. And add die-cuts, sequins, berries, flowers and rhinestones.
И страничка готова! :)
And the layout is ready!
И немного деталек
And some close ups
Материалы: / Supplies:
Hope my tutorial will be useful for you!
Have a nice day!


Сказочно!!! и воздушно)))
ОтветитьУдалитьочень красиво!
ОтветитьУдалитьЗдорово!!Красота!!
ОтветитьУдалитьThis layout is so gorgeous!! I love all the circles and textures - and, especially, the colors. I read through your tutorial and learned some new tips for adding texture. I love this layout and will be giving the circles a try. Thank you for sharing your wonderful art and techniques!
ОтветитьУдалить